

Welcome to handrail installation made easy with Hold Tight Handrails. We are happy to take away the stress of drilling and concrete to give you safety and independence quickly and easily. The two to three step handrails are perfect for garage steps, short staircases like your porch, and more while providing durability that is sure to last. Want to install them yourself? Check out our guides for each type, wall mounted or jamb mounted, to see how you can install the railings.

Jamb Mount Installation Instructions

Thank you for purchasing a Hold Tight Handrail! You are well on your way to greater security and peace of mind in your home. Let’s get started with installation.
(Don't have your Hold Tight Handrail yet? Take a look at our jamb-mount handrails.)
Tools Required:
- Drill
- Tape Measure
- Pencil
- 5/32" drill bit
- Phillips bit
- Included screws:
○ 3 - 3.5 inch long stainless steel screws (for the front of the handrail)
○ 2 - 3 inch long stainless steel screws (for the side of the handrail)
Step 1: Decide on the installation height of your handrail
Typical commercial code is between 34"-38" from the floor. We recommend 36", because that’s the height of a standard doorknob. With that in mind, you are free to install your home handrail at whatever height best suits the user.
Step 2: Set your railing into position
Make sure your handrail is lined up properly with the door, and mark holes with a pencil.

Step 3: Pre-drill your holes
Using a 5/32" drill bit, pre-drill all five marked holes.

Step 4: Mount your handrail
With your jamb mount handrail, you will receive 2 - 3 inch stainless steel screws for the side and 3 - 3.5 inch stainless steel screws for the front. Using your Phillips bit and drill, mount the handrail in place with all five screws.

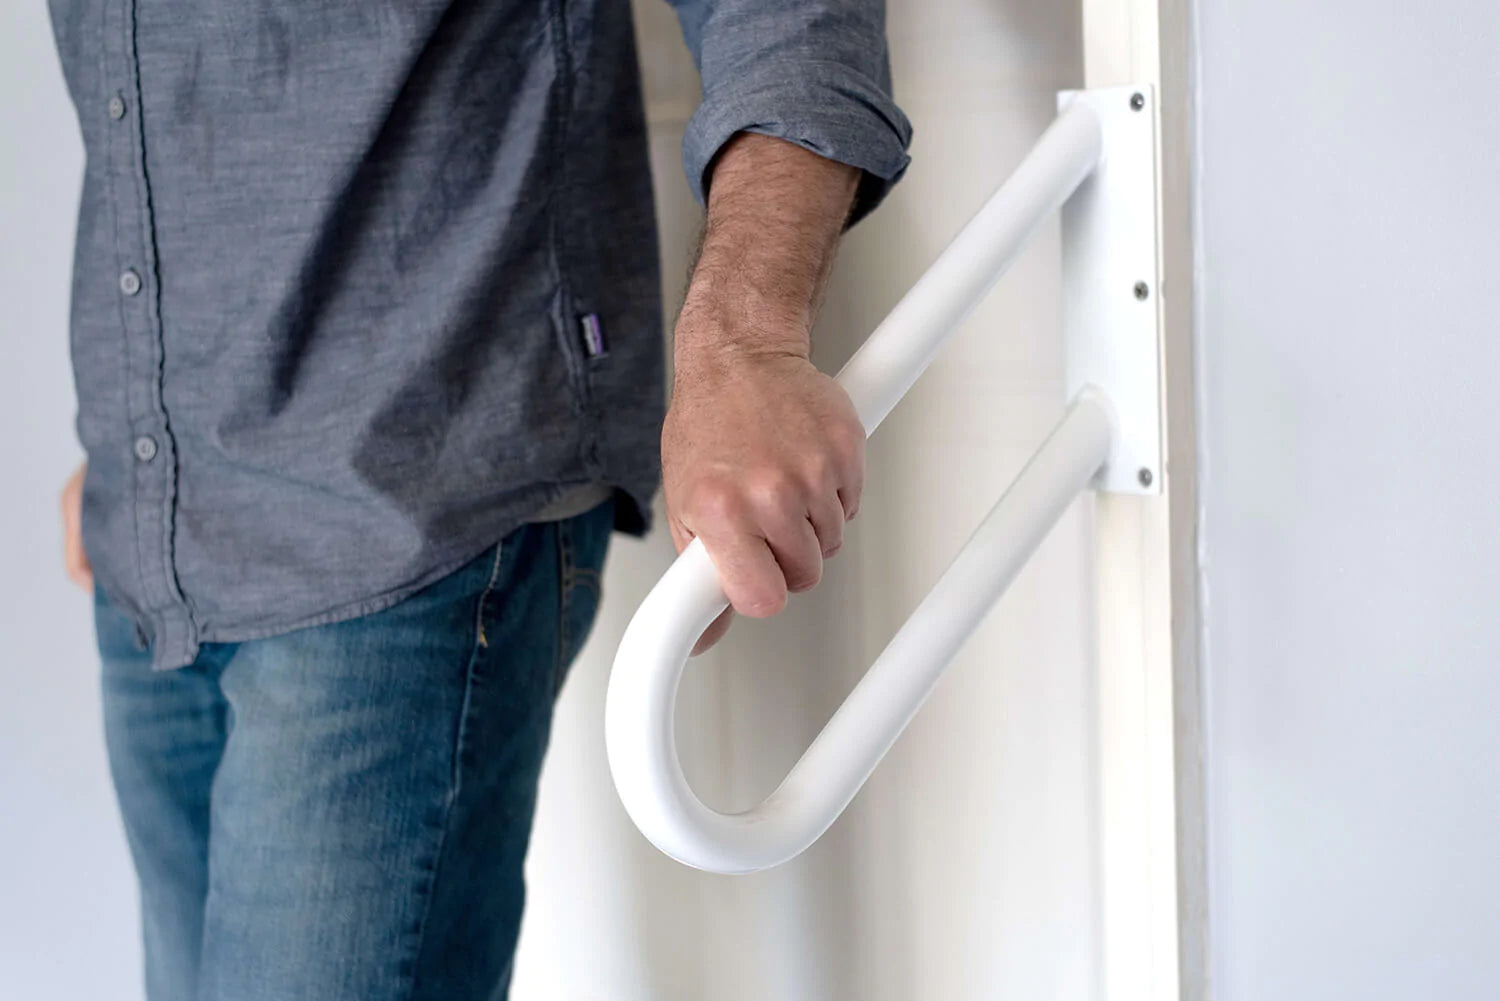
Installation is complete! You are now ready to navigate your stairs with greater confidence. If you have any questions, check out our installation guides or contact us.
Wall Mount Installation Instructions
Thank you for purchasing a Hold Tight Handrail! You’re one step closer to peace of mind in your home. Together, let’s install your wall mount handrails.
(Don't have your Hold Tight Handrail yet? Take a look at our wall-mount handrails.)
Tools Required:
- Stud Finder
- Tape Measure
- Drill
- Pencil
- 5/32" drill bit
- Phillips bit
- Included screws: 6 stainless steel screws
- Optional: painter's tape to mark studs
- Optional: plywood board for installation locations without at least two stud anchors - see below for details
Step 1: Decide on the installation height and location of your Hold Tight Handrail
Typical commercial code is between 34"-38" from the floor. We recommend 36", because that is the height of a standard doorknob. With that in mind, you are free to install your home handrails at whatever height best suits the user.

Step 2: Locate the studs and determine if you need a wall board for safe installation
The screw holes on your mounting bracket closest to the door will almost always connect with a stud, but sometimes the screw holes on the far side of the mounting bracket do not. Using a stud finder, locate and then mark the location of your studs onto painter's tape. If the location you intend to install on does not have a stud behind the far side screws, then you should install a wall board. If your screws can safely connect to your studs, skip to step 4.


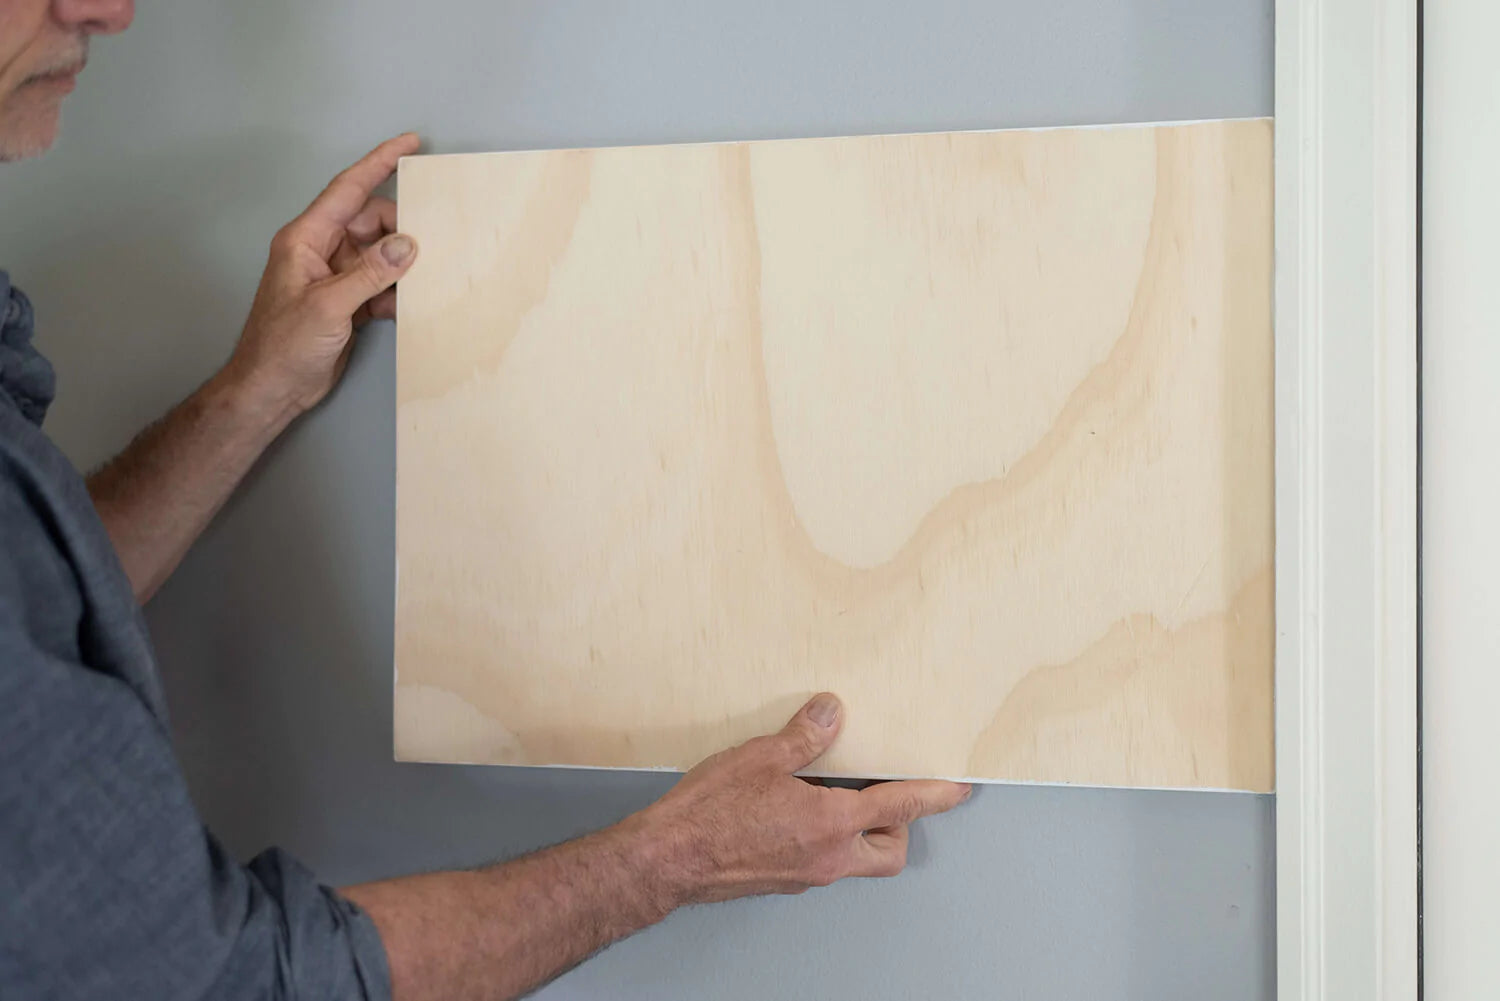
Step 3: If needed, install a wall board
You will need to use a board long enough to properly span the length of your studs. For this demonstration, we used a 20" wide x 14" tall x 3/4" thick plywood board, but your board may need to be a different length. Measure the distance between studs to determine the ideal size. It can be painted the same color as your wall to blend in.
Mark the other studs that’ll be behind your wall board.
Set your board into place, and pre-drill holes to line up with the studs. We recommend a line of 3 screws on each stud to be sure the wall board is secure.

Secure the wallboard with screws. We recommend 3 inch screws.

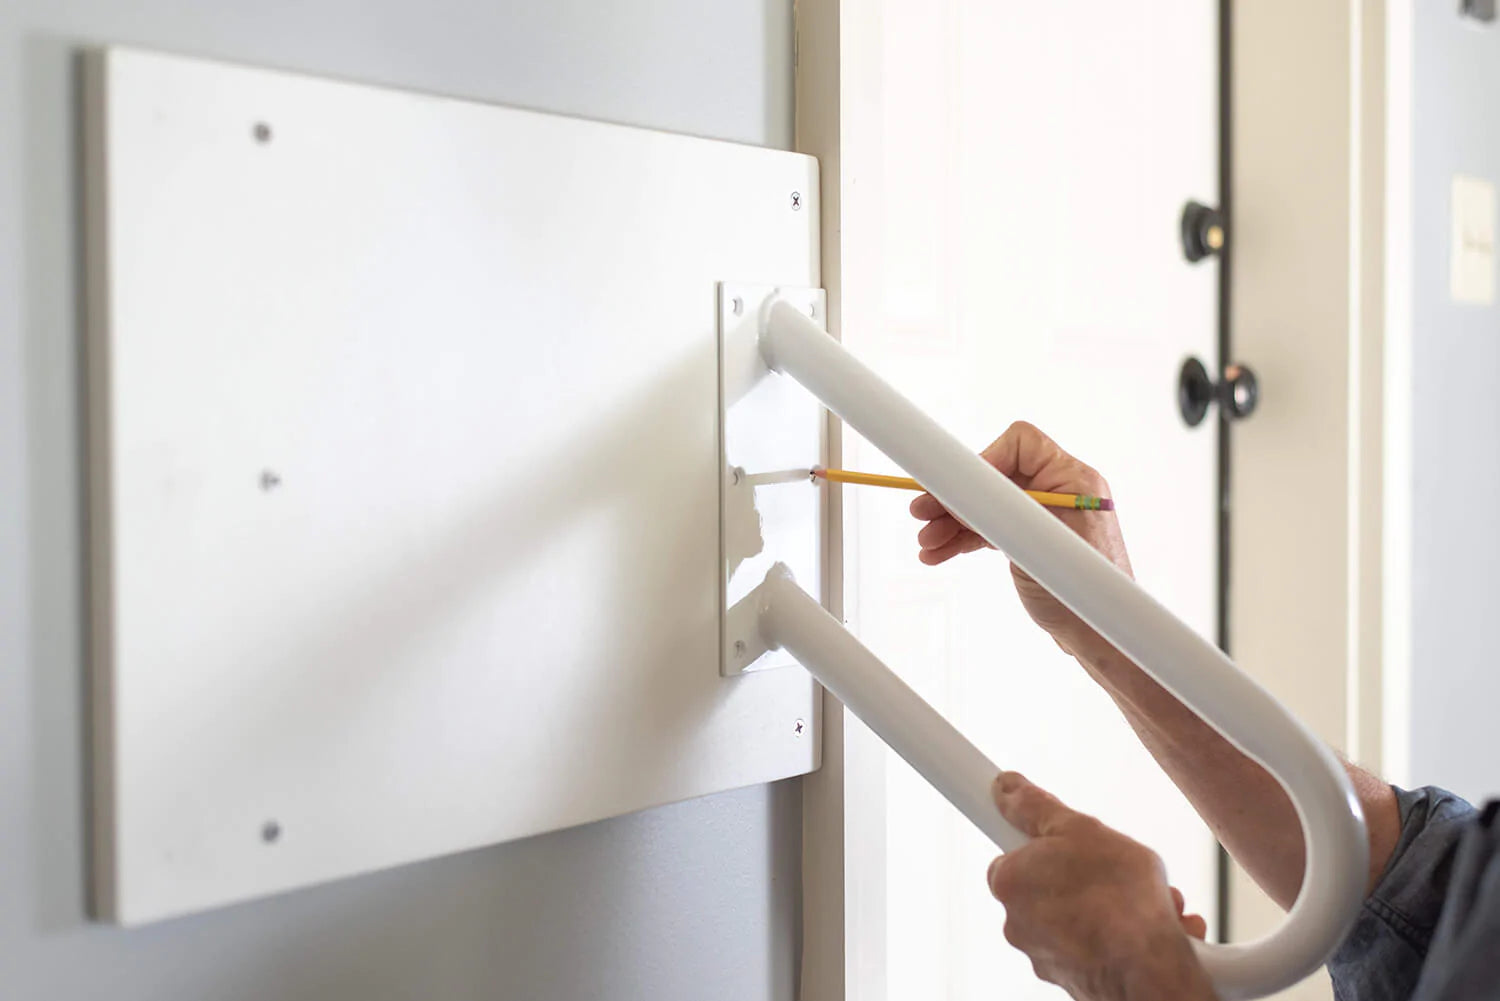
Step 4: Set the railing into position
Make sure your handrail is lined up properly from the door, and mark holes with a pencil.

Step 5: Pre-drill your holes
Using a 5/32" drill bit, pre-drill all six marked holes.


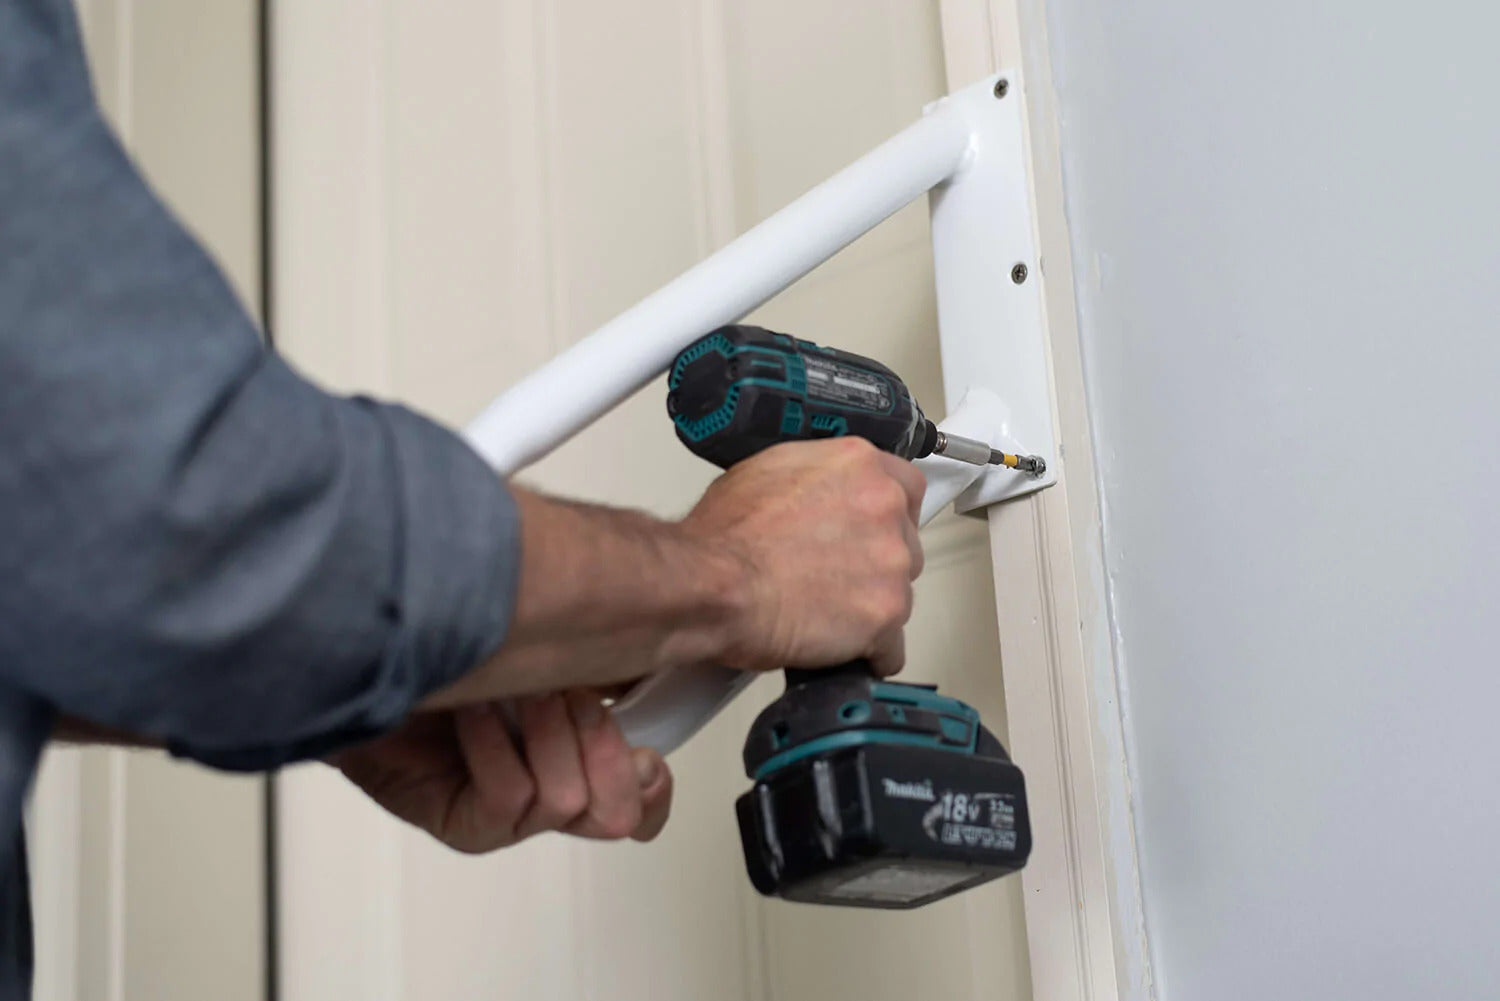
Step 6: Mount your handrail
With your wall mount handrail, you will receive 6 stainless steel screws. Using your Phillips bit and drill, mount the handrail in place with all 6 screws.


Installation is complete! You are now ready to navigate your stairs with greater confidence. If you have any questions on installation, feel free to contact us or email Steve at steve@holdtighthandrails.com.
